


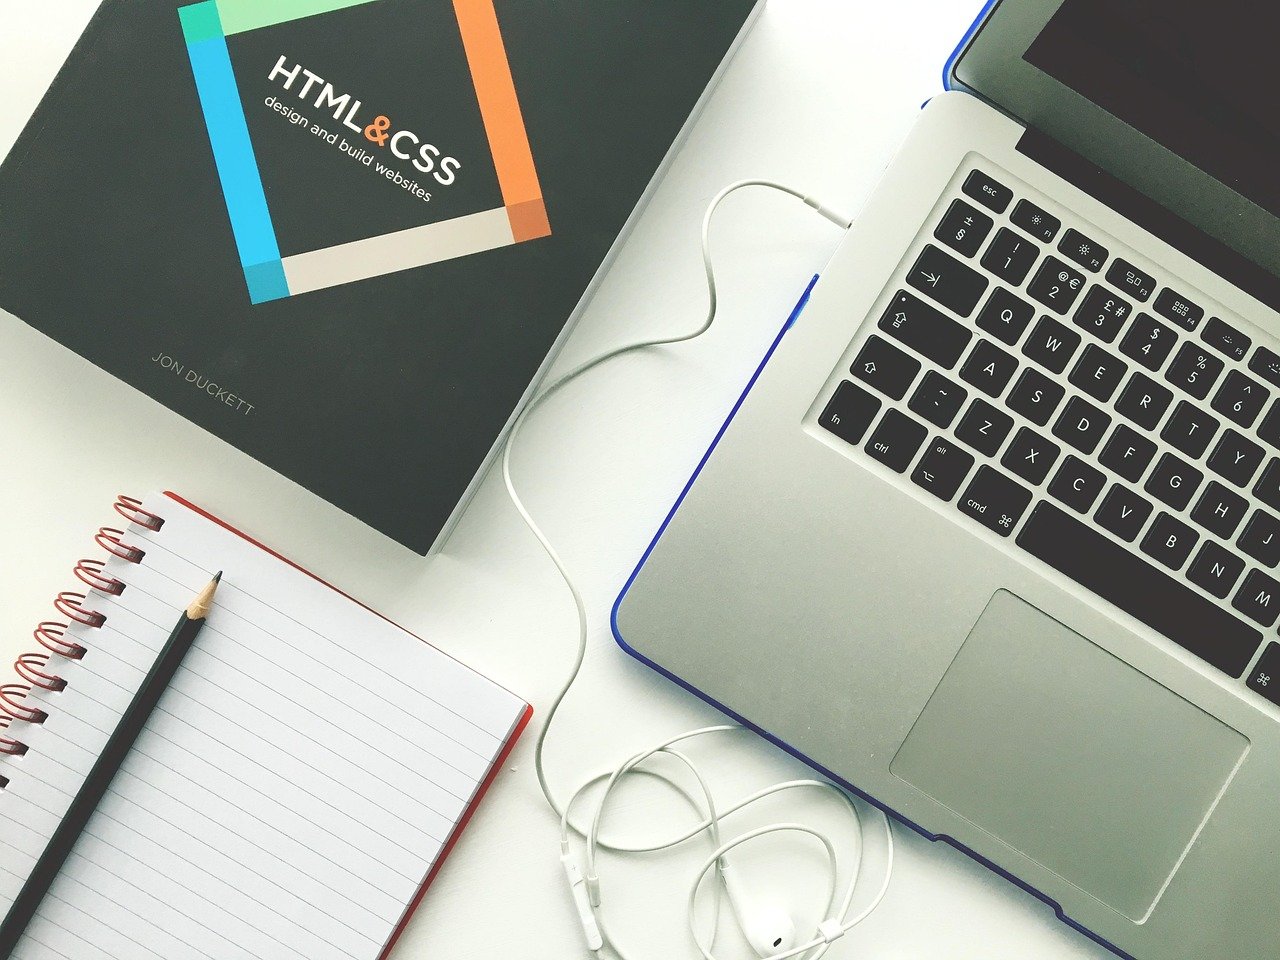
Creating a website used to be a task reserved for tech gurus and coding wizards. But the digital landscape has evolved, and now, building your own website is more accessible than ever, even without prior coding knowledge. DIY website creation empowers you to take control of your online presence, whether you’re a small business owner, a blogger, or an individual looking to showcase your portfolio. This guide will walk you through the essentials of DIY website creation, helping you navigate the options and build a stunning website that represents you or your brand.
Why Choose DIY Website Creation?
DIY website creation offers numerous advantages over hiring a professional web developer. While professional developers bring expertise and custom solutions, the DIY route can be more budget-friendly and provide greater control over your website’s design and functionality.
Cost Savings
- One of the most significant advantages is the reduction in cost. Hiring a web developer can be expensive, with initial setup fees and ongoing maintenance costs. DIY solutions often involve monthly subscription fees to website builders, which are generally more affordable.
- You can save money on updates and minor changes. With a DIY approach, you can easily make adjustments yourself without incurring additional charges.
Control and Customization
- You have complete control over the design and functionality of your website. You can choose a template and customize it to match your brand identity.
- DIY platforms offer a wide range of customization options, allowing you to tailor your website to your specific needs. For example, you can easily integrate social media feeds, add contact forms, and optimize your site for search engines.
Speed and Flexibility
- You can launch your website much faster. Setting up a DIY website is typically quicker than waiting for a developer to build one from scratch.
- You can make changes and updates instantly. Need to update your product offerings or post a new blog? You can do it yourself in a matter of minutes.
Choosing the Right Platform
Selecting the right platform is crucial for a successful DIY website creation journey. Several platforms are available, each with its own strengths and weaknesses. The key is to choose one that aligns with your technical skills, budget, and website goals.
Website Builders
- Examples: Wix, Squarespace, Weebly
- These platforms are designed for users with little to no coding experience. They offer drag-and-drop interfaces, pre-designed templates, and built-in features like e-commerce capabilities and blogging tools.
- Pros: User-friendly, easy to learn, offer a wide range of templates.
- Cons: Limited customization compared to other platforms, can be more expensive in the long run due to subscription fees.
- Example: Squarespace offers a variety of professionally designed templates suitable for businesses, bloggers, and artists. It’s known for its clean aesthetic and ease of use.
Content Management Systems (CMS)
- Examples: WordPress, Joomla, Drupal
- CMS platforms are more flexible than website builders, but they require a steeper learning curve. WordPress is the most popular CMS, powering over 40% of all websites on the internet (according to W3Techs).
- Pros: Highly customizable, wide range of plugins and themes available, SEO-friendly.
- Cons: Requires more technical knowledge, can be more time-consuming to set up and maintain.
- Example: WordPress.org is a self-hosted platform, requiring you to find your own hosting provider. However, this offers more control and flexibility compared to WordPress.com (which is a hosted solution).
E-commerce Platforms
- Examples: Shopify, BigCommerce
- These platforms are specifically designed for selling products online. They offer features like inventory management, payment processing, and shipping integrations.
- Pros: Easy to set up an online store, secure payment processing, marketing tools.
- Cons: Primarily focused on e-commerce, can be more expensive than other platforms.
- Example: Shopify is a popular choice for businesses of all sizes. It offers a user-friendly interface and a wide range of apps to extend its functionality.
Essential Steps in DIY Website Creation
Once you’ve selected a platform, it’s time to start building your website. These steps will guide you through the process.
Planning and Content Creation
- Before diving into design, plan your website’s structure and content.
- Define your goals: What do you want to achieve with your website? (e.g., generate leads, sell products, share information).
- Create a sitemap: Outline the pages you need (e.g., Homepage, About Us, Services, Contact).
- Write compelling content: Focus on clear and concise messaging that resonates with your target audience. Use keywords relevant to your industry to improve search engine optimization (SEO).
Design and Customization
- Choose a template or theme that aligns with your brand identity.
- Customize the design: Adjust colors, fonts, and layouts to match your brand guidelines.
- Add your content: Populate your pages with text, images, and videos.
- Ensure mobile responsiveness: Make sure your website looks good on all devices (desktops, tablets, and smartphones). Google prioritizes mobile-first indexing, so a mobile-friendly website is crucial for SEO.
SEO and Optimization
- Optimize your website for search engines to improve visibility.
- Keyword research: Identify relevant keywords that your target audience uses.
- On-page optimization: Use keywords in your page titles, meta descriptions, headings, and content.
- Image optimization: Compress images to reduce file size and add alt text for SEO.
- Build backlinks: Acquire links from other reputable websites to improve your website’s authority.
Testing and Launching
- Before launching your website, thoroughly test all its features.
- Test on different browsers and devices: Ensure compatibility across various platforms.
- Check for broken links: Use a link checker tool to identify and fix any broken links.
- Review your content: Proofread your content for typos and grammatical errors.
- Get feedback: Ask friends, family, or colleagues to review your website and provide feedback.
- Launch your website: Once you’re satisfied with the results, publish your website and promote it on social media and other channels.
Maintaining and Updating Your Website
Launching your website is just the beginning. Regular maintenance and updates are essential to keep your website secure, functional, and relevant.
Regular Updates
- Keep your platform, themes, and plugins up-to-date. Updates often include security patches and bug fixes.
- Back up your website regularly to prevent data loss in case of technical issues.
Content Refresh
- Update your content regularly to keep it fresh and engaging.
- Add new blog posts, product descriptions, and testimonials to attract new visitors and keep existing ones coming back.
Performance Monitoring
- Monitor your website’s performance using tools like Google Analytics.
- Track key metrics like traffic, bounce rate, and conversion rate to identify areas for improvement.
- Optimize your website’s speed and performance to provide a better user experience. Google has stated that website speed is a ranking factor.
Conclusion
DIY website creation empowers individuals and businesses to establish a professional online presence without breaking the bank. By choosing the right platform, planning your content carefully, and optimizing your website for search engines, you can build a stunning website that achieves your goals. Remember to prioritize regular maintenance and updates to keep your website secure, functional, and relevant. With a little effort and dedication, you can create a website that truly represents you or your brand and helps you succeed in the digital world.